Overview of Travertine Paver Assembly Services
Visitors can learn about Travertine Paver Assembly services and compare local contractors who specialize in this work.
- - Residential property owners seeking durable and attractive outdoor flooring solutions.
- - Commercial spaces looking to enhance their walkways, patios, or outdoor seating areas.
- - Property managers or contractors in need of skilled local pros for professional travertine paver assembly.
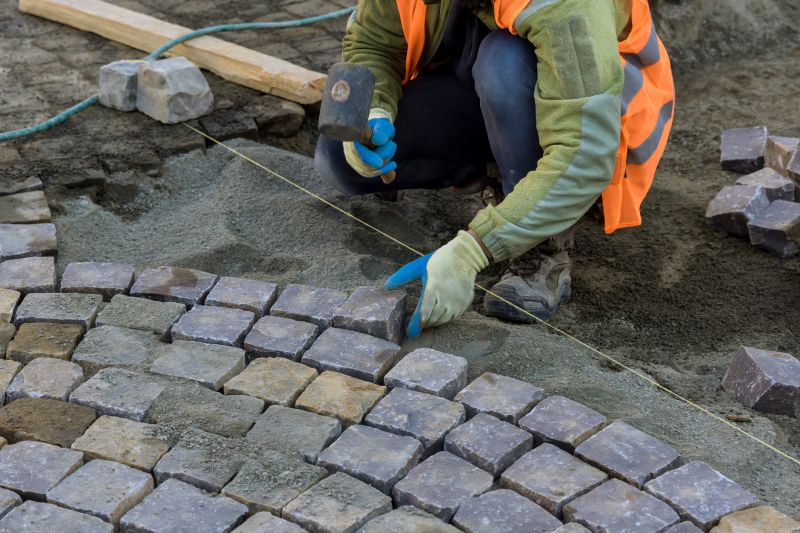
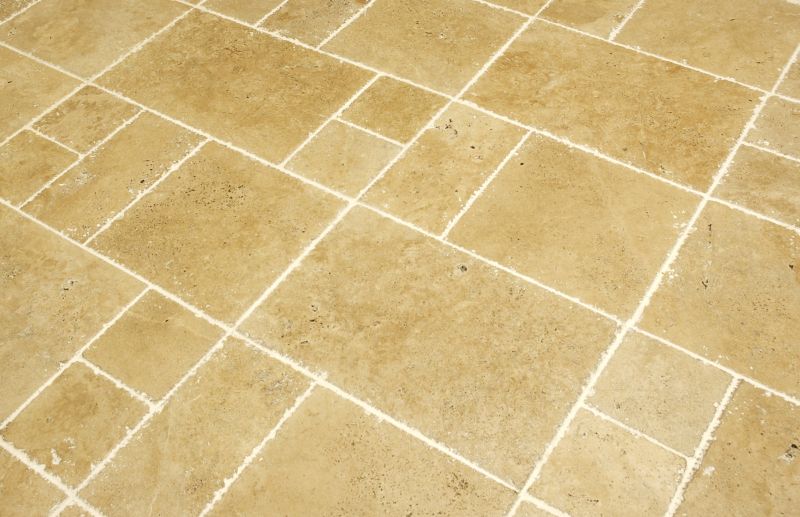
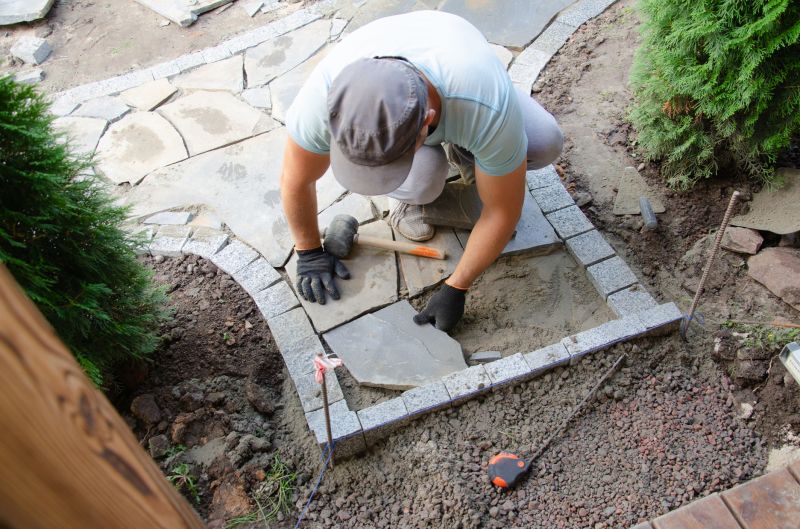
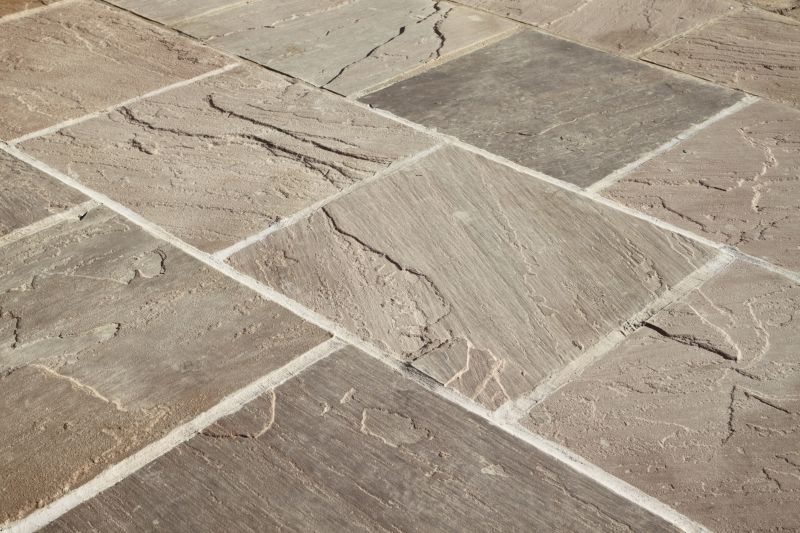
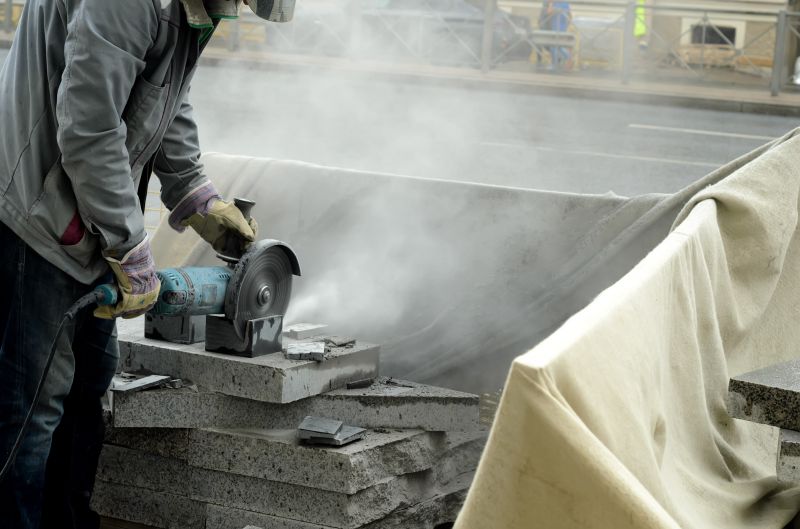
Travertine paver assembly involves the installation and arrangement of natural stone pavers to create durable, attractive surfaces for outdoor spaces such as patios, walkways, and driveways. Property owners often seek out local contractors who specialize in working with travertine to ensure proper placement, leveling, and sealing. These professionals handle the preparation of the base, precise layout, and installation techniques necessary to achieve a long-lasting and visually appealing result.
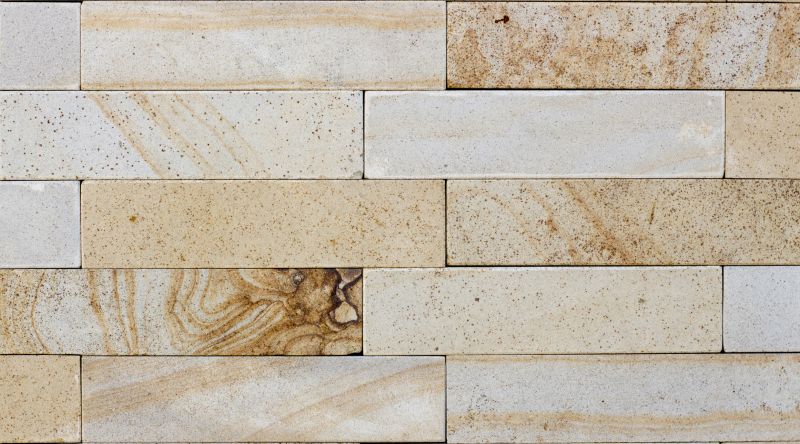
Local service providers in this field are experienced in managing various site conditions and design preferences. They can assist with selecting the right type of travertine, preparing the area, and executing the installation according to industry standards. Property owners can expect to work with knowledgeable contractors who understand the nuances of travertine paver assembly and can help bring outdoor projects to completion with quality craftsmanship.
This guide provides helpful information to understand the process of assembling travertine pavers and what to consider before starting a project. It assists in comparing local contractors who specialize in travertine paver installation and assembly. The goal is to help visitors gather the basics needed to connect with qualified service providers in their area.